Getting Started
The Easy Way
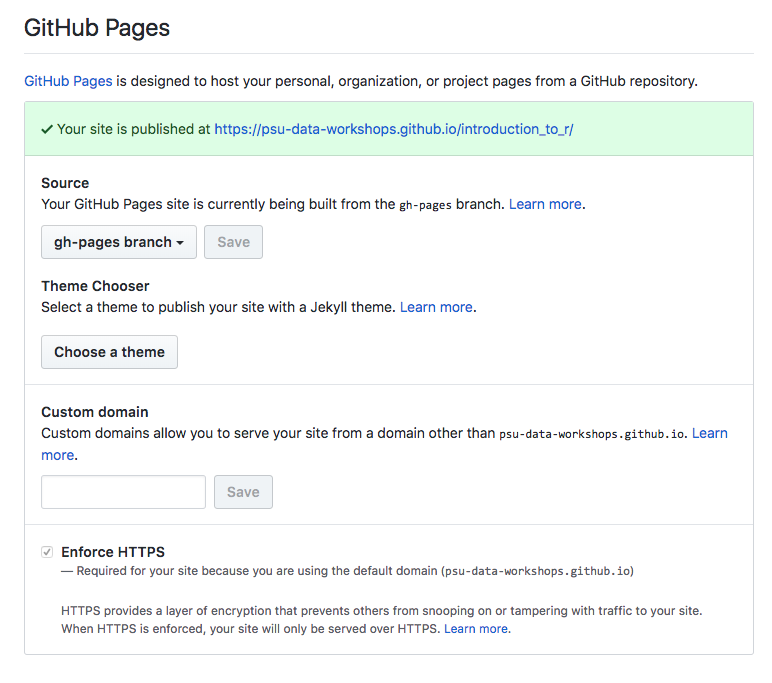
The easiest way to get started is to simply fork this repository. That will create an exact copy in your own GitHub account. Got to settings and scroll down to the GitHub Pages section. Once the banner bar turns green you can use that URL to visit your copy of Apprentice (Figure 1).

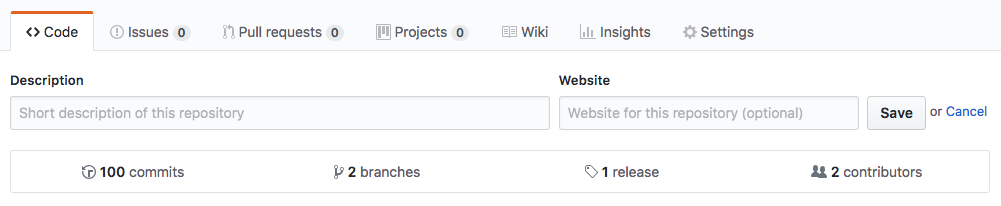
To make it easier for others to find it, you can include this URL in your README, or Edit the description of your website and include the URL there (Figure 2). This is found on the home page of your repository.
You can do most things working directly in GitHub. You can edit the files, create new files and so on. However, if you are doing more substantial changes, or working with a team, it is probably easier to create a local instance (on your own computer, or using a service like Cloud 9). This is described next.
Working Locally
To work locally just clone this repository using git. This might require a bit more learning if you aren’t familiar with git, but in the long run is more effecient.
> git clone https://github.com/olendorf/apprentice.git
Jeklyll uses the Ruby programming language. If you are on a Mac or Linux system, you should have Ruby already installed. If you are on Windows, or don’t have Ruby installed, you will need to install it. Here are instructions on how to install ruby.
You will also need to install Jekyll, which is really easy once you have Ruby installed. (More detailed instructions here)
> gem install bundler jekyll
This command also installs a gem called Bundler which is also necessary for this next step. Move to the top of your newly cloned Apprentice project.
    > cd <path/to/your/apprentice/directory>
    > bundle install   # This installs additional dependencies from the
                       # Gemfile in your project.
Everything should now be in place to run a local instance of your project. Jekyll comes with its own light weight server, which works for testing and developing locally, but it won’t do for production. Run the line below from inside your projet directory to start your. You should be able to view your project in a web browser..
    # The default method uses http://localhost:4000/
    > jekyll server

    # Some useful options
    # --host 0.0.0.0 specifies local host, if the default doesn't work.
    # --port 8080  Jekyll uses the default of 4000, but you may need to change this.
    # --baseurl ''  Overrides the baseurl set in your _config.yml (more on this later.)
    #               Briefly, if you deploy to github, you need the baseurl, deploying
    #               locally, or on other servers you probably don't.
    # --config '_config.yml,_config_dev.yml' This allows you to specify a development config
    #               file that overrides the values in your standard _config.yml file. If you
    #               the example _config_dev.yml file overrides the supporting file path to work
    #               with a server other than gh-pages and changes the title to make it obvious
    #               you are in a dev environment
    > jekyll serve --host 0.0.0.0 --port 8080 --baseurl '' --config '_config.yml,_config_dev.yml"

    # ctrl-c to stop the server.
Now you can start editing your files using your favorite text editor and the
changes will appear in your website. (**NOTE: if you change _config.yml or any config file,
you will need to restart your jekyll server).
Pro Tip:
In Linux and Mac platforms you can make starting the server significantl easier by creating an alias. Add the linealias jstart="jekyll serve --host $IP --port $PORT --baseurl ''"to your .bashrc file. This assumes your have set your IP and Port as environmental variables. If not just substitute the correct values into your alias.
When you are ready to deploy to GitHub just make sure you are in the gh-pages branch and push your repository up to GitHub.
> git push origin gh-pages
Page 2 of 10